Oct 9, 2026How-To & Troubleshooting
Why a Cooling System Pressure Tester Won't Hold Pressure: What to Check First
A pressure tester can fail to build or hold pressure when the test connection is not sealed, the wrong connection point is used, or the cooling system leaks. Check the setup before reading the gauge.
1. Quick Answer
A pressure tester may fail to build or hold pressure because the test connection is not sealed, because the tester is connected at a point that is not part of the sealed cooling system, or because the cooling system itself is leaking. Verify the setup before interpreting the gauge. One unexpected reading does not, on its own, tell you which of those it is.
2. First Check: Are You Connected to the Sealed Cooling System?
A cooling system pressure tester works by manually pressurizing the system and then monitoring the gauge; leaks show up as a drop in pressure over time. That only works if the tester is connected into the sealed system. Instructions give a specific example: some vehicles use a coolant overflow bottle that is not part of the sealed system. Testing through that bottle simply vents the test pressure to the atmosphere. The referenced tester instructions also state that its adapters are not intended for that type of bottle.
The practical check is which vessel is part of the pressurized system: a radiator filler neck, or a pressurized coolant reservoir that holds system pressure. If the vehicle uses a separate, open overflow bottle, the test has to be taken from the pressurized side. An OEM tools catalogue makes the same point from the tool side — a system only pressurizes when the vent path is sealed off during the test.
3. Check the Adapter Seal at the Filler Neck
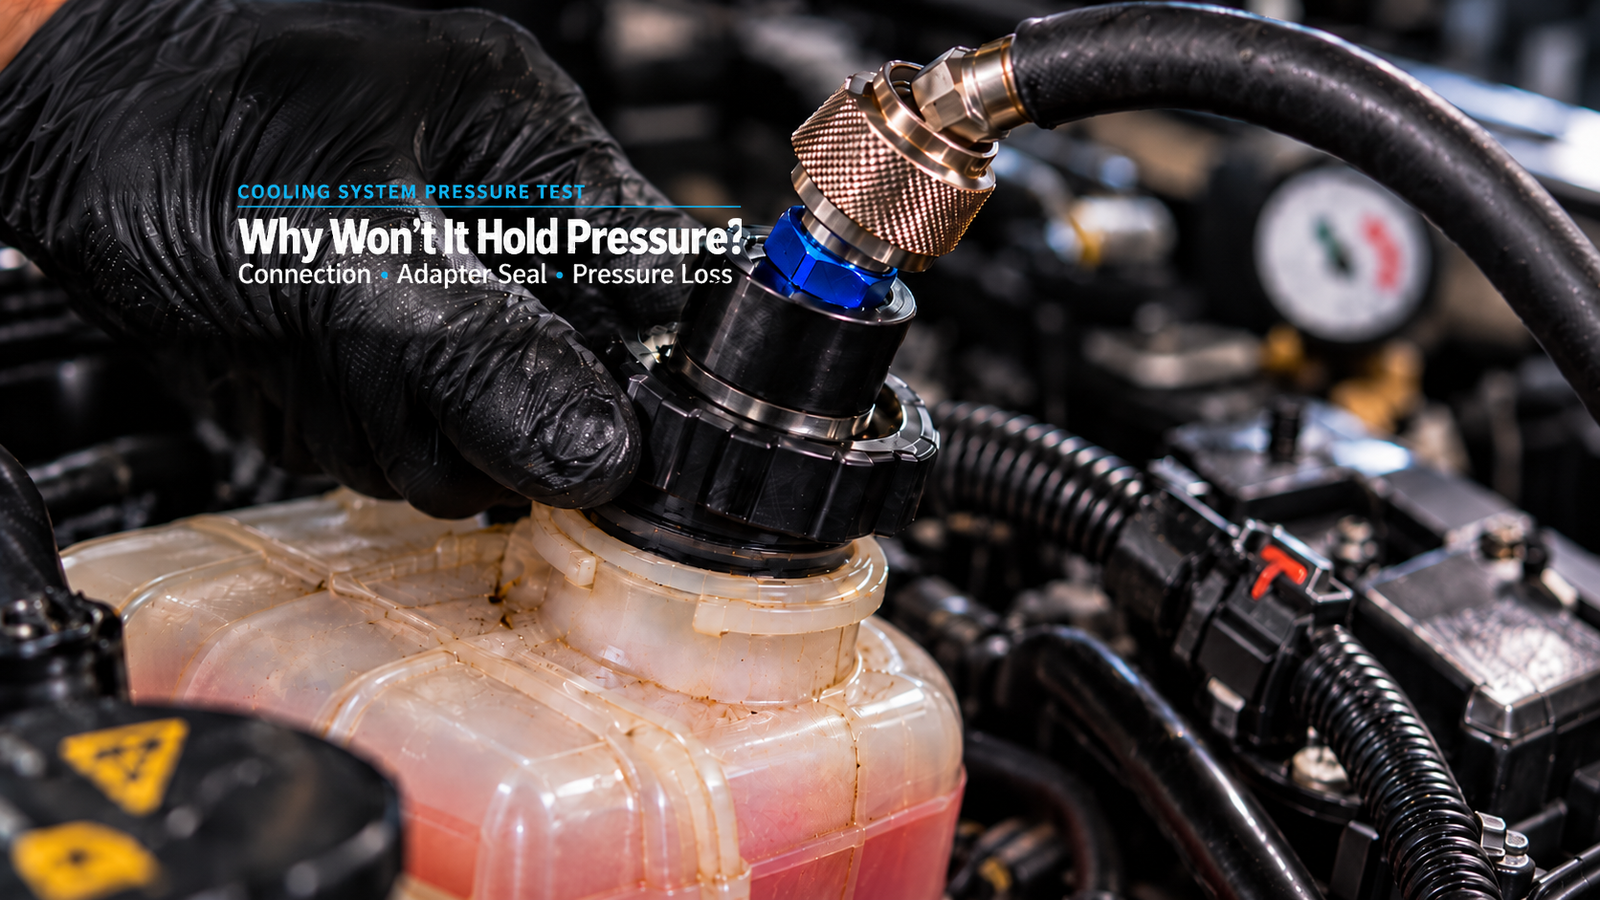
If the tester is on the sealed side and pressure still will not build, the adapter is the next suspect. Tool instructions describe what a good connection requires: the adapter has to be the correct one for the opening, seated properly, and secure before pressurizing. An expandable rubber-seal universal adapter is tightened into the inlet by expanding the seal until it is snug; manufacturer wording is explicit that the universal adapter must be tightened securely in the cooling system inlet before the system is pressurized.
Two more setup points come from the same instructions: the sealing surface is inspected before the test, and the adapter and tester head are fully engaged and sealed. A connection that is not fully engaged is a setup problem, not a cooling-system fault — so it belongs in the first checks, not in the diagnosis.
4. Check the Hose and the Quick-Connect
The hose and its couplings are part of the measurement. Instructions for these kits require the quick-connect sleeve to snap forward and lock the connection, and direct the user to seat the coupler fully when attaching the pump to the adapter. On testers that use a valve between the pump and the system, the valve has to be in its closed position to hold pressure and let the gauge be read.
The test has a built-in confirmation step: with the system still pressurized, inspect hoses and connections for seepage, then return to the gauge and check the reading again. A coupling that is not locked can behave like a small leak — but it is still a setup problem.
5. If the Setup Is Sealed but Pressure Still Drops
Once the connection point, adapter seal, hose and couplings have been verified, a pressure drop becomes useful information because it indicates leakage somewhere in the pressurized test circuit or cooling system. Instructions state this directly — leaks are indicated by a drop in pressure over a few seconds or minutes. At that point, inspect hoses, joints and the radiator for visible seepage while the system is still pressurized.
6. What If Pressure Drops but You Can’t See Coolant?
A drop with no visible external leak does not automatically mean a specific failure. Instructions describe it as something that can indicate an internal leak, and direct further checks and the vehicle manufacturer's procedures. If pressure continues to fall after the setup has been verified and no external leak is visible, further diagnosis should follow the vehicle manufacturer's service information rather than a single conclusion drawn from the gauge.
7. Radiator Cap Test and Cooling-System Test Are Different
A cap pressure test and a whole cooling-system pressure test are not the same test. A cap test checks the function of the pressure cap itself, and its target is the cap's rated pressure — printed on the cap or given in the vehicle manual. A cooling-system test pressurizes the sealed system through an adapter in the filler neck. The two tests answer different questions, so the result has to be interpreted against the component being tested.
8. What Tool Buyers Should Check in a Pressure Tester Kit
Adapter coverage: which filler-neck openings and cap types the kit's adapters are documented to fit.
Sealing method: how each adapter seals, and whether the system adapters are separate from any cap-test adapters.
Hose and quick-connect: how the pump locks onto the adapter, and whether the connection is documented.
Pressure release mechanism: how the tester is depressurized after the test.
Gauge specification: as documented by the supplier.
Written instructions, kit contents, and any replacement seals or adapters where documented.
TEKO’s 28pcs Universal Radiator Pressure Tester Kit sits in the Testing & Diagnostic Tools range. It is a 28-piece kit documented for cooling system pressure testing to check for pressure loss or leaks, and for pressure testing after cooling-system repair or service. It contains a pressure testing pump with hose, 21 test caps intended for most domestic and import vehicle cooling systems, a vacuum type cooling system purge and refill tool kit, a relief valve, a quick disconnect, a vacuum gauge, a universal adapter and a temperature gauge. The published contents — not the product name — are what a buyer sets against the vehicles in the target market. For how kits are compared by cap coverage, see the Radiator Pressure Tester Kit Buying Guide.
If you are sourcing cooling-system test tools for your market, send us your testing-tool requirements through our inquiry form, with your target market and vehicle coverage, required adapters, desired kit configuration, quantity, and any private label or OEM requirements — and we will confirm what we can support.
Frequently Asked Questions
Why won’t a cooling system pressure tester hold pressure?
Check three things in order: whether the tester is connected into the sealed system rather than an open overflow bottle, whether the adapter is the right one and fully engaged and sealed, and whether the hose and quick-connect are locked. If the setup is verified and pressure still drops, the system is leaking.
Can the wrong adapter make the gauge lose pressure?
Yes — an adapter that does not seat or seal properly behaves like a leak in the setup. Instructions require the correct adapter, tightened securely into the inlet, with the tester head fully engaged and sealed before pressurizing.
Can I pressure-test through the coolant overflow bottle?
Not if that bottle is not part of the sealed system. Manufacturer instructions state that testing through a non-sealed overflow bottle vents the test pressure to the atmosphere and does not connect the tester into the sealed system. Test from the pressurized side instead.
Does a falling gauge always mean an engine problem?
No. Verify the setup first: connection point, adapter seal, hose and couplings. A drop with no visible external leak can indicate an internal leak, but what to do next belongs to the vehicle manufacturer's service information — not to the gauge alone.
What should buyers confirm in a radiator pressure tester kit?
Adapter coverage for the target market, how the adapters seal, the hose and quick-connect arrangement, the pressure release mechanism, the documented gauge specification, written contents, and any replacement seals or adapters.